Level 50, ilvl 55
50, i110
Eastern Thanalan (X:14.7, Y:30.2)
 This Time's for Fun
Halatali! The very name turns some spines to water and others to steel. Lurid marks of the recent lawlessness yet remain, but daily the drudges conquer halls slick with ichor and doorways festooned with things not for gentle eyes. No less deadly for its newly restored order, the fabled training grounds yearn for new blood─perhaps to brighten the freshly scrubbed walls of its vast chambers.
In this fight, the mechanics are similar to the Aurum Vale's Coincounter encounter. The Cyclops has various abilities, such as moving away when he uses both hands on his mace to cast something and running through him when he uses only one hand. Additionally, the Cyclops will use the Eye of the Beholder ability, which requires players to avoid his lasers. Throughout the fight, a mechanical Mammet will randomly walk around the room, connected by a tether to a lever at the back. Interacting with the lever will cause the Mammet to stop and emit a blue aura, providing the Manawall buff to those within it for about 10 seconds. The key is to wait for the Cyclops to charge his 1000 Tonze Swing attack, which covers the entire arena, and then activate the lever to obtain the buff before he completes the charge. The Manawall buff will effectively nullify the swing attack, which would otherwise be deadly.
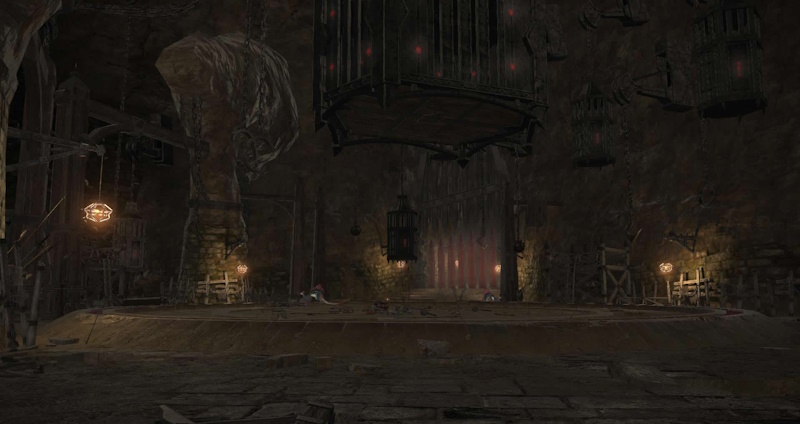
In the boss room, there are four pedestals arranged in a square along the edges. As the battle commences, each pedestal will illuminate with an activate-able lever called Tainted Eye. These levers are crucial, so it is essential to assign one to each party member. Throughout the fight, the boss will periodically use Demonic Eye, which has a considerable casting time. When the boss starts casting Demon Eye, every party member must activate the Tainted Eye to receive a buff called Gloam, which protects them from taking damage. In addition, Catoblepas will occasionally make his eye visible as a target. This serves as a test of the party's damage output. Initially blue, the eye will then turn yellow and ultimately red. When the eye becomes red, the boss will begin applying damage taken debuffs on the entire party. Lastly, the boss also employs dangerous cone area-of-effect attacks. It can face a player and unleash a massive cone AOE that covers a significant portion of the arena. Dodging this attack can be particularly challenging if you are directly in the center of it.
In the final boss battle, there are multiple phases to overcome. The first phase involves four opponents who will try to break up your party. The Lancer doesn't seem to have a specific target and will randomly attack someone, so it's important to kite them around initially. The healer should be the first to be eliminated, followed by the Bard and then the Gladiator. It's worth noting that these characters have abilities appropriate to their level 50 job, so expect the Gladiator to use abilities like Spirits Within. Overall, this section of the battle is relatively easy. The second phase begins after defeating the trash enemies. A red demon and a Lalafell named Mumepo the Beholden enter the scene. The tank should focus on holding aggro on both of them. It's crucial to defeat Mumepo first because he casts more spells and can chain players in place before unleashing a powerful AOE attack with a slow casting bar. The remaining unchained player must locate the "Thal's Scepter" interactive lever within the AOE to free their party members before the cast finishes, or else they will suffer significant damage. Once Mumepo is defeated, the rest of the fight becomes relatively straightforward. The red demon has a tail swipe that melee fighters should be aware of, while ranged fighters will have to deal with randomly targeted AOE circles.